

No products in the cart.

Owning a period property is like holding a piece of living history. Whether it’s a Georgian terrace, a Victorian villa or an Arts & Crafts cottage, every detail tells a story. Yet when it comes to light switches and sockets, modern replacements can often jar with the character of your home. The good news? With thoughtful choices, you can upgrade to safe, functional fittings without losing period charm.
In this article, we’ll explore what to consider, how to plan your upgrades and how Bromleighs’ collections can help you achieve the perfect balance between heritage and modern convenience.

1. Understand Your Home’s Period Style
The first step is to identify the period of your property. Each era has its own aesthetic and period style light switches should complement the architectural features rather than clash with them.
- Victorian / Edwardian homes: Polished brass, ceramic or porcelain toggles, ornate detailing
- Arts & Crafts or early 20th century: Simpler forms, muted tones and tactile materials
- Georgian properties: Symmetrical layouts and understated elegance
- 1920s / Art Deco interiors: Geometric lines, chrome or black finishes, clean edges
Take note of metal finishes in your home (door handles, lighting, skirting) and aim to harmonise. For example, a brass switch in a room with bronze fittings can look out of place.

2. Decide the Scope of Your Upgrade
Are you replacing just the faceplates or are you planning a full mechanism upgrade? Understanding this will help you plan effectively.
Considerations include:
- Back-box depth: Older properties often have shallow boxes, which can limit modern flat plate switches or dimmers
- Future-proofing: Do you want dimmers, smart modules or extra sockets? Planning ahead ensures you won’t need disruptive changes later
- Two-way switching and layout: Think about the usability of your home. Some rooms may need multi-gang or two-way configurations.
Your electrician can advise on technical specifics, but it helps to have a clear vision of the look and function you want.
3. Choosing the Right Style of Switch
Once you’ve considered the style of your property and the scope of your upgrade, the next step is choosing the right design. Bromleighs offers a variety of collections tailored for period homes:
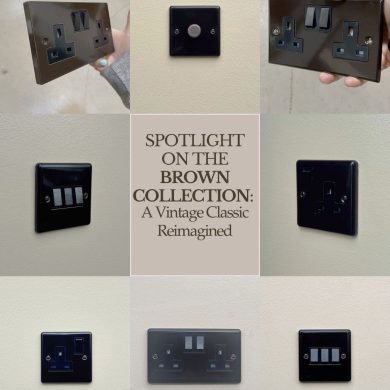
- Brown Collection — subtle, earthy tones that blend beautifully with wooden trims and neutral interiors.
- Forge Collection – hand-forged aesthetic perfect for rustic beams, exposed brick or a farmhouse feel
- Profile Collection – sleek, minimalist lines for historic homes with modern interventions
- Period Switch Collection – classic, elegant designs inspired by historic fittings
- Bakelite Switch Collection – rich, tactile materials perfect for darker trims or vintage interiors
Tips when choosing switches:
- Toggle vs Rocker: Toggles often feel more authentic in period properties, while modern rockers can work if styled carefully
- Finish and material: Coordinate with door handles, lighting and skirting. Polished brass, antique bronze or ceramic finishes often feel timeless
- Gang layouts: Ensure multiple switches don’t crowd the space; consider spacing and symmetry

4. Balancing Modern Convenience with Period Character
You don’t need to sacrifice modern functionality for heritage style. Many switches allow for dimming, smart home integration and energy-efficient lighting, all hidden behind period-appropriate faceplates.
Tips:
- Dimmer modules: Keep the modern technology hidden behind a classic faceplate
- Smart home upgrades: Even if you’re not installing them now, plan for future enhancements
- Concealed wiring: Maintain clean surfaces by hiding cables in walls, floors or conduits
This approach ensures your switches and sockets look authentic, while still supporting the conveniences expected in a modern home.

5. Working With Professionals
Even if you’re not doing the electrical work yourself, your role in guiding the style and finish is crucial.
- Share images of your interiors with your electrician so they understand the aesthetic goal
- Provide the specifications of your chosen switches to ensure compatibility
- Inspect placement and alignment carefully; even a slight misalignment can look jarring in a period setting.
Planning early (before painting or decorating) reduces the risk of damage and ensures a seamless finish.

6. Celebrate the Transformation
Once installed, your new switches should feel like they’ve always belonged. A few finishing touches can elevate the result:
- Take “before and after” photos – these are great for inspiration and showcasing the transformation.
- Create a room style sheet noting finishes and trim colours to maintain cohesion.
- Encourage consistency across rooms by pairing finishes of switches, sockets and other hardware.
Quick Decision Checklist:
| Question | Why It Matters |
| Which period style is my home (Victorian, Georgian, Arts & Crafts, 1920s / Art Deco)? | Helps narrow finish and style options |
| Faceplate only or full mechanism change? | Affects cost, fit and installation complexity |
| Do I want dimmers, smart modules or extra sockets? | Influences back-box depth and wiring layout |
| Which style or collection of switches and sockets suits my home best? | Ensures visual harmony with period character |
| Are finishes coordinated with other hardware? | Prevents jarring contrasts |

Final Thoughts
Upgrading light switches in a period home is about blending history with modern convenience. The right switches and sockets can preserve character, complement interiors and even enhance usability. With careful planning, maybe some consultation with professionals and the right selections of products, your home can have period property light switches and sockets that feel timeless.
For classic elegance, tactile materials or subtle modern touches hidden behind vintage designs, we have a solution for every period property.
Explore our collections:


Related posts
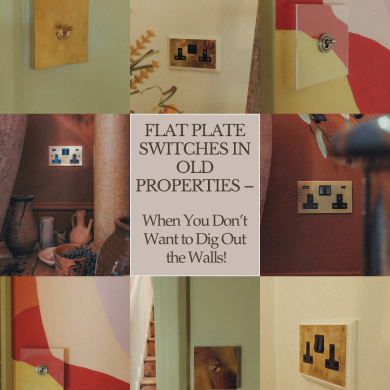
Renovating or upgrading electrics in old properties often comes with a familiar challenge: shallow back boxes hidden behind thick plaster, solid masonry or uneven walls.... Continue reading
For anyone renovating a period property, the smallest details often carry the greatest weight. Original fixtures (especially electrical hardware) help preserve the character and authenticity... Continue reading
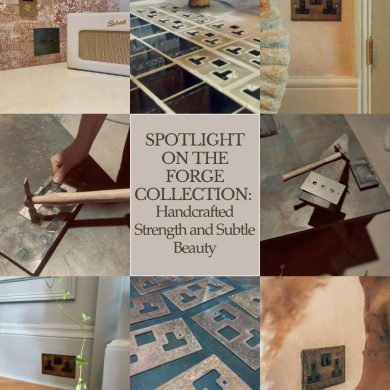
At Bromleighs, every collection tells a story of British craftsmanship and the Forge Collection is one of our most characterful. Inspired by traditional metalworking and... Continue reading

Renovating a period home is about more than modern upgrades - it’s about honouring history while creating a space that feels timeless and personal. In... Continue reading
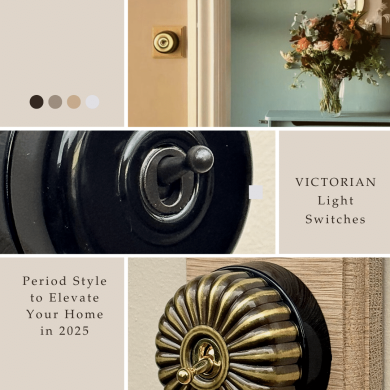
In the world of interior design, it’s often the smallest details that make the greatest impact. One such detail (humble yet transformative) is the light... Continue reading
